Creating SMART forms for letters
The process for creating letter SMART forms is simpler than creating SMART forms for requisition forms and other entry forms (where users have to enter data in designated areas). You usually leave letter SMART forms unrestricted, enabling users to add to or modify text in all areas of the letter. Letter SMART forms also require less complicated formatting. You simply write a letter, and indicate where patient, clinic, provider, and addressee data will populate automatically.
Letters typically contain four main sections:
Letterhead
Addressee information and greeting
Letter body
Closing
| 1. | Start a new SMART form. See Starting new SMART forms. |
| 2. | Perform one of the following actions: |
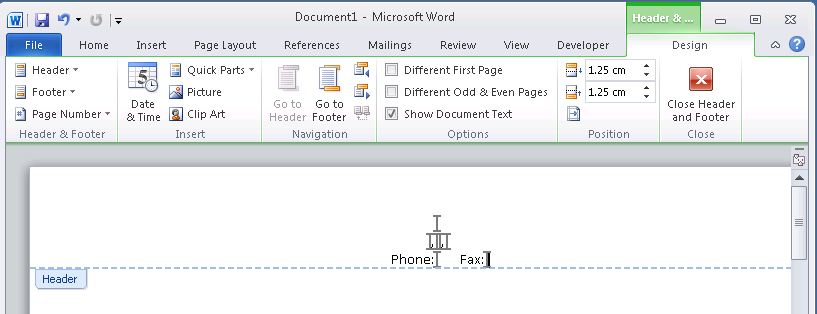
If you want your letterhead to display on all pages of the printed letter, at the top of the window, click Insert and then, in the Header & Footer area, click Header ![]() . Word displays a list of header options.
. Word displays a list of header options.
Click Edit Header. Word displays an editable area at the top of the page.
In the editable area, place your cursor where you want your letterhead to start.
If you want your letterhead to display on only the first page of the printed letter, within the regular margins on the first page of the letter, place your cursor where you want your letterhead to start.
| 3. | To centre your letterhead, at the top of the window, click the Home tab and then, in the Paragraph area, click Center text |
| 4. | Type your letterhead text. If you want your clinic name, address, and contact information to populate automatically, add bookmarks where needed. See Bookmarks. |
| 5. | Optionally, add your clinic's logo to the header. See Adding images to SMART forms. |
| 6. | When you are done, if you have the Header edit area open, click Close Header and Footer |
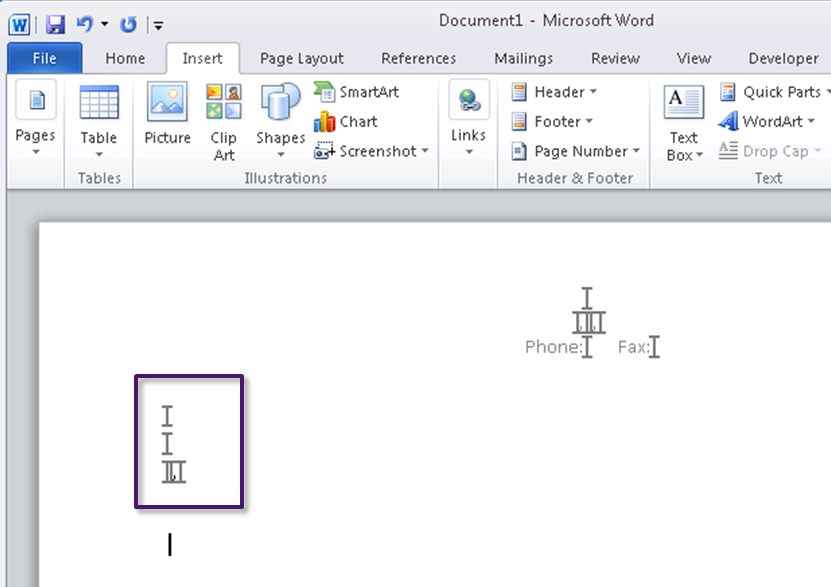
| 1. | Place your cursor where you want the addressee information to populate. |
| 2. | To have the addressee's name, address, and contact information populate automatically, insert bookmarks for each item you want to pull. See Bookmarks for a list of available bookmarks. |
Add spaces, commas, and new lines between the bookmarks as needed.
If the addressee if a consultant, see the Consultant MD category. For the EMR to know which consultant to pull information for, the consultant must be entered in Patient Maintenance > Name/Addr/Phone tab > Consultant Physician field. Or, if the letter is a referral letter, be the selected consultant for the referral.
If the addressee is a family provider, see the Family MD category. For the EMR to know which doctor to pull information for, the patient's family doctor must be entered in Patient Maintenance > Name/Addr/Phone tab > Family Practice Phys field.
If the addressee if a referring provider, see the Referring MD category. For the EMR to know which doctor to pull information for, the patient's referring doctor must be entered in Patient Maintenance > Name/Addr/Phone tab > Family Practice Phys or Consultant Physician field. The Use in Billing as Default check box must also be selected beside the field where the referring provider is entered.
| 3. | To enable users to insert CC addressees to the letter, below the addressee information insert bookmarks for CC consultant. |
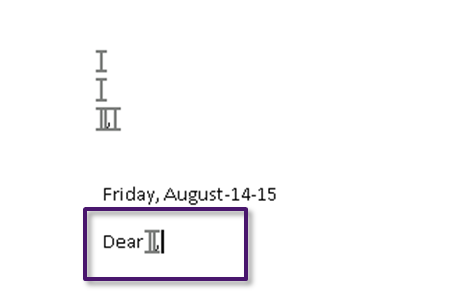
| 4. | Optionally, insert the letter date below the addressee information. |
| 5. | Below the addressee address information, type a greeting, such as Dear, and then insert MD name bookmark(s) for the consultant MD, family MD, or referring MD See above for tips on finding the correct bookmarks. |
| 1. | Place your cursor where you want the letter body to display. |
| 2. | Type your letter body text. If you want patient or clinic information to populate within a sentence (such as "Thank you for seeing this 8 year old Female."), insert the appropriate bookmark. See Bookmarks. |
| 3. | If you want the letter template user to add information to the middle or end of a sentence, leave a space, or insert a distinctive character as a "place holder" (such as "thank you for seeing this patient regarding * "). |
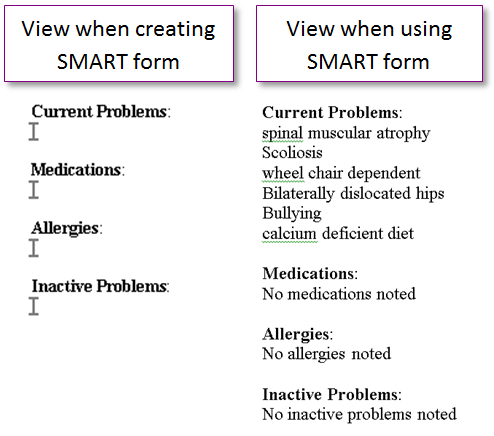
| 4. | If you want to populate all or part of the patient's medical summary into the body of the letter: |
| a) | Enter a title for each area of the medical summary you want to display information for. |
| b) | Below each title, insert the bookmark for the corresponding medical summary item. See Bookmarks. |
When you use the letter, Wolf EMR populates medical summary bookmarks as vertical lists. For this reason, insert medical summary bookmarks below their corresponding title (instead of beside the title). Also, consider adding an extra line between each medical summary section for easier reading.
| 1. | Place your cursor where you want the closing statement to display. |
| 2. | Type a closing statement, such as "Regards,". |
| 3. | To have the sending provider's electronic signature populate the letter automatically, on the line below the closing statement, insert the MDSignature bookmark. See Creating SMART form signatures. |
| 4. | On the next line, insert bookmarks for the provider's name, and optionally the provider's Practitioner Number. See Bookmarks. |
If you use the MDName bookmark:
If the SMART form is used from the provider WorkDesk, this bookmark inserts the name of the provider currently logged on.
If the SMART form is used from the front-end staff WorkDesk, this bookmark inserts the name of the patient's primary service provider (as displayed in Patient Maintenance > Name/Addr/Phone tab).
© 2018 ![]()