Verifying patient data
Best practice: Mark that you have verified a patient’s data each time that you enter or change the patient’s demographic information.
You can mark that you verified patient data using one of the following methods:
On the Name/Addr/Phone tab in the Patient Maintenance window
When you mark the patient as arrived for an appointment from the scheduler.
Optionally, you can also verify patient demographics with MSP (see Verifying patient PHNs with MSP).
| 1. | Open the Patient Maintenance window. See Patient maintenance. |
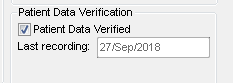
| 2. | In the Name/Addr/Phone tab, at the bottom of the last column, select the Patient Data Verified check box. |
| 3. | In the Last recording field, enter the date it was verified text box (if it is not already populated). |
| 4. | Click Save |
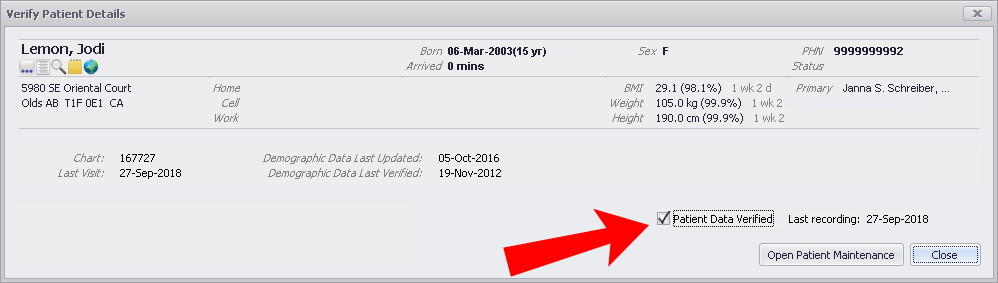
| 1. | From the scheduler, right-click the appointment and click Arrive. For more information, see Monitoring clinic traffic. |
| 2. | If the information is accurate, select the Patient Data Verified check box. Today's date is entered. |
© 2018 ![]()