Starting consult letter visit notes
If a patient’s visit notes are to be printed/sent as a consult letter, you can enter your visit notes in a consult letter form. When you finish your visit notes, you can then print the notes as a consult letter.
Steps
| 1. | From your WorkDesk, click the Appointments tab. A list of your appointments for today is displayed. |
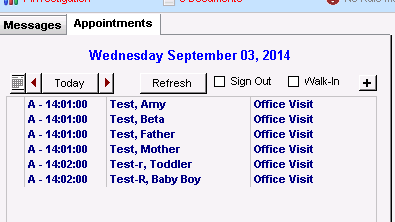
| 2. | In the Appointments list, click the patient for whom you want to start a SOAP note. |
Tip: You can view and select patients booked in future or on past days. Also, if a patient is not on your appointment list, but you want to start a new SOAP note for the patient, you can add the patient to your appointment list. See Starting encounters for patients without booked appointments.
The Patient tab opens with the patient’s Cumulative Patient Profile (CPP) and includes:
A list of the patient’s previous and current encounters (office visits) that includes encounter date, status (C = complete, I = Incomplete, P = visit notes entered in a paper chart), attending physician, and visit type.
The EMR assigns a status of P to an encounter if, in the attending provider’s user profile, there is no start date entered in the Other Data tab, under Use of Online Records.
A summary of important and recently added patient chart data.
The patient banner, that shows a summary of the patient’s demographics, latest vitals and measurements, care team information, and more. See Patient banner.
Tip: Visit notes created by you do not display initials under attending physician.
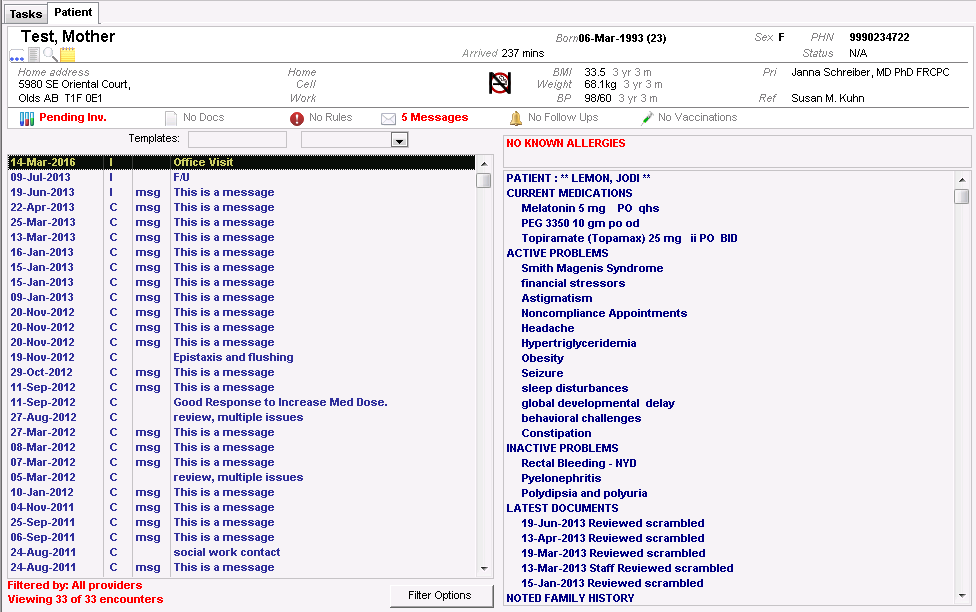
| 3. | In the list of encounters, double-click the encounter for which you want to start a consult letter. In most cases this is the incomplete (I) encounter at the top. |
You can filter the patient’s encounter list to display only encounters with specific providers, or encounters with providers belonging to a specific security group. To do this, the encounter filtering feature must be enabled for your clinic. For more information, contact the Wolf EMR support team (see Contact us).
Below the patient’s encounter list, click Filter Options. The Encounter Filter Options window opens.
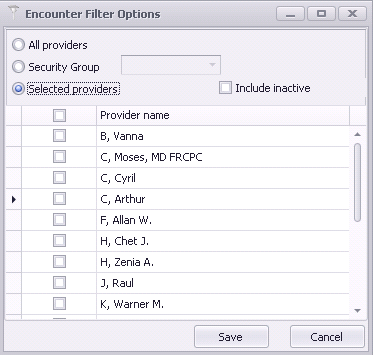
To view visits for a specific security group, click Security Group and then select the security group you want.
To view visits for specific providers, click Selected providers and select the check box beside the provider(s) you want.
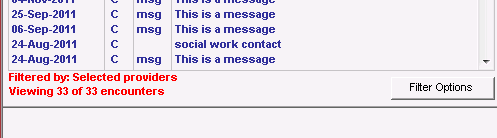
Click Save. The EMR filters the list and displays your criteria at the bottom of the visit list.
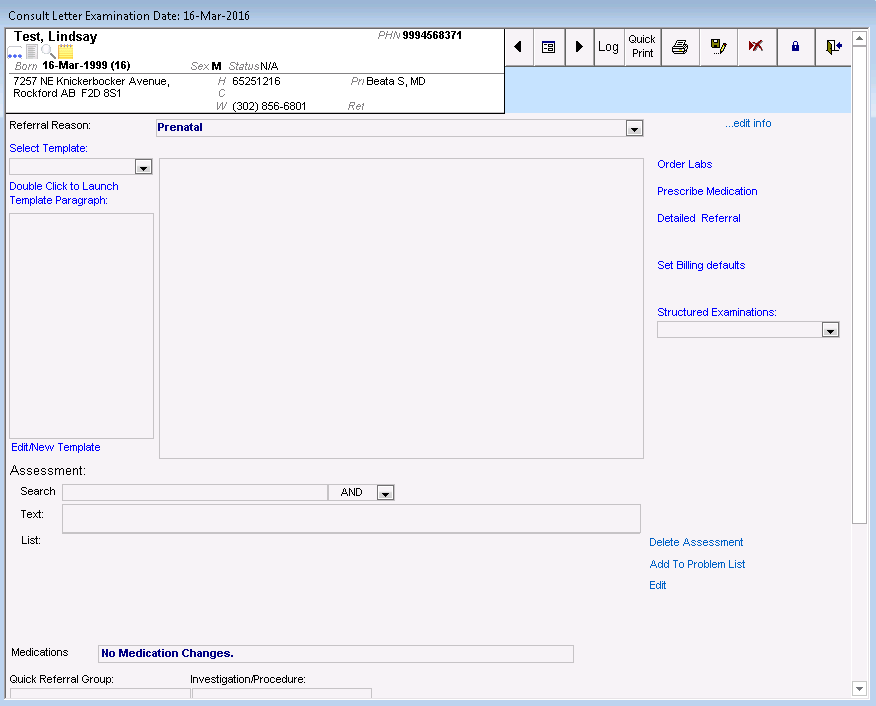
| 4. | In the Templates list, click Consult Letter. The Consult Letter Examination window opens. |
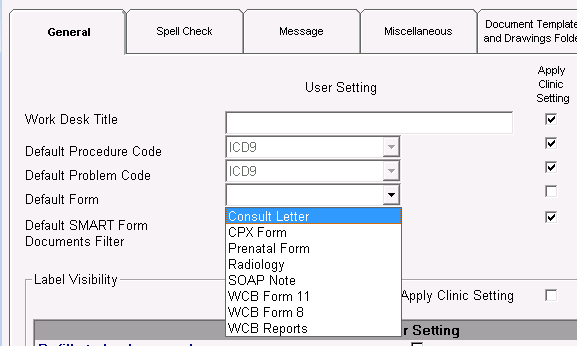
If you are a specialist and most of your notes are written in the form of a consult letter, then the consult letter form should be set as your default window for entering visit notes. When the consult letter form is set as your default, when you double-click a new encounter, the consult letter form window opens instead of the SOAP form.
From your WorkDesk, click Configure > Configure WorkDesk > General tab. In the Default Form list, click Consult Letter.
© 2018 ![]()