Creating WorkSafeBC progress and other reports
You can create WorkSafeBC progress reports and other reports after you create and submit a new WorkSafeBC first report. Create a progress report only for completed follow-up visits where relevant changes occurred since the previous report.
When you create a WorkSafeBC progress report or other report, you pull in information from the previous claim and then you update the information as necessary.
Steps
| 1. | Open the WCB Report Manager for the patient (see Opening the WCB Report Manager). |
| 2. | Click the New Reports tab. |
| 3. | In the Select Report area, choose Form 11: Progress Report or the appropriate report. |
| 4. | In the Select Claim section, click the claim that you want to update. |
| 5. | In the Select Appointment area, perform one of the following actions: |
If the patient was seen in clinic, click the associated appointment.
If the patient was not seen at your clinic (for example, if the patient was visited in the hospital), scroll to the bottom of the appointment list and select Service Not in Clinic, and then in the Select Physician list, select a provider.
| 6. | Click New Report |
| 7. | If you selected (in the Select Appointment area) an appointment that has SOAP information, you are prompted to use the exam data to create a new WorkSafeBC encounter record. Click Yes. The window now has a |
Tip: The information on the
Note: The original SOAP encounter does not get automatically deleted.
You have the option to keep it or delete it.
| 8. | Click the tabs as required and update the information in the form. See step 7 to step 9 in Creating WorkSafeBC first reports. |
| 9. | When you are done, click |
Note: If the Set Appointment as Finished check box is displayed, the EMR marks the encounter as finished. If you do not want this to happen, clear this check box (it is selected by default).
The EMR displays a prompt asking you if you want to send the WorkSafeBC report to the billing program.
| 10. | Perform one of the following actions: |
If the report information is complete, click Yes.
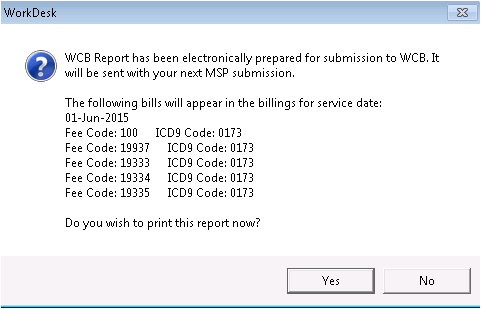
Click Yes if you want to print the report now. Click No if you do not want to print the report.
If the report information is not complete, click No. The EMR saves the form for further modification.
© 2018 ![]()