Creating auto-replace text
View video tutorial: Using auto-replace to save time
Define and create your auto-replace terms so that you can later easily type short pre-defined text (such as "tci") and have it replaced with the longer and more complex version of the text (such as "To Come In"). This is especially useful for complex patient instructions and words that are hard to spell. Once you create the auto-replace text, you can quickly insert it (see Using auto-replace text).
Always create and save auto-replace text BEFORE opening the window where you will use the replace text. For example, if you are in the process of creating a visit note in a SOAP form, and realize that the text you are typing would be a good candidate for auto-replace text, close the SOAP form window, then create the new replace text item as described below, and then re-open the SOAP form.
Tips for creating effective replace terms:
The replace term is not case sensitive. You can type all of your terms in lower case.
Do not use spaces or special characters, such as !#@$%^&*_+=? in the key word.
A replace term can be used only once in the entire clinic, even if a user creates the term for his own use. If you have a large number of clinic staff who are creating auto-replace text, consider adding your initials to the beginning of your replace terms. This way, each user can use a similar term, but with their own individualized replace text.
Steps
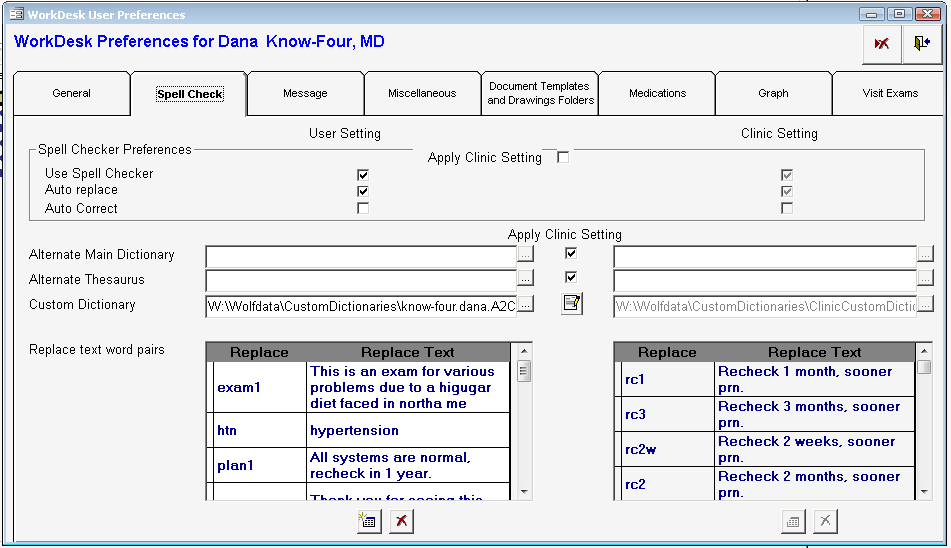
| 1. | On your WorkDesk, click Configure > Configure Workdesk and choose the Spell Check tab. The EMR displays auto-replace terms and associated text in the Replace text word pairs area, with: |
Your personal auto-replace terms on the left.
Clinic-wide auto-replace terms on the right.
| 2. | To add a new word: |
| a) | Click Add Replace text word pair |
| b) | In the Replace column, type the simple term to be typed (and replaced by the replace text you define later). |
| c) | In the Replace Text column, type the text you want inserted when the replace term is entered. |
| 3. | To edit a replace term or replace text, double-click the appropriate field, and then edit the text. |
| 4. | To delete an auto-replace text entirely, click the text you want to delete and click Delete |
Note: If you do not have administrator authority in Wolf EMR, you can edit or delete only auto-replace text that you created.
| 5. | Click Save & Close |
© 2018 ![]()