Configuring appointment reasons
You can create different appointment reasons that automatically populate a default length, description, and fee code, such as for complete physical exams.
Steps
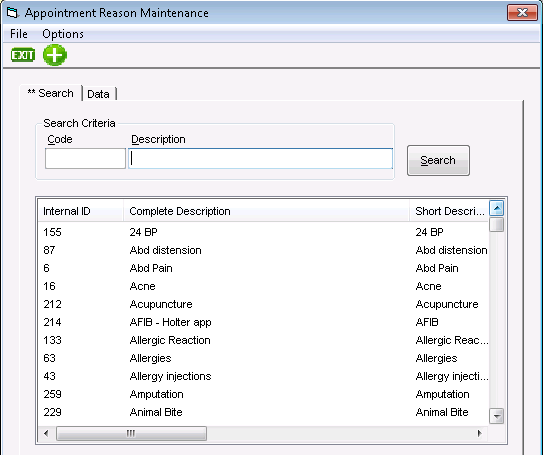
| 1. | From the scheduler menu, choose Configure > Appointment Reasons. The Appointment Reason Maintenance window opens with a list of your current appointment reasons. |
| 2. | To add an appointment reason, click the new button |
| 3. | To modify an appointment reason, click its Internal ID. |
| 4. | Use the following table to enter information. |
| Field | Description |
|---|---|
|
Internal ID |
Leave blank; automatically-generated number. |
|
Default Visit Template |
Optionally select the SOAP template that automatically opens for visits with this appointment reason. For example, if a patient has an appointment with the appointment reason “Diabetes checkup”, you can have the CDM Diabetes SOAP template open automatically. |
|
Complete Description |
Type a descriptive name for the appointment reason. |
|
Short Description appearing on screen |
Type a short description of the appointment reason. This appears in the appointment slot on the scheduler. |
|
Include in Continuity Count |
To include appointments with this appointment reason in the Continuity Count Reports, select the Include in Continuity Count check box. |
|
Color |
To display a specific background color in appointments with this appointment reason, click Set Color and choose the colour you want. |
|
Default Fee Code |
When a bill is created for a visit with a specific appointment reason, you can specify a default service code to automatically populate the bill. |
|
Default ICD9 Code |
When a bill is created for a visit with a specific appointment reason, you can specify a default ICD9 diagnosis code. |
|
Default Length |
Select the length of time the appointment is automatically booked for. |
|
Default Demand |
If your clinic uses advanced access scheduling (see Advanced access scheduling), set the default demand to External or Internal. |
|
Web Booking area |
See Enabling specific days and time slots for online booking. |
| 5. | To edit an appointment reason, click it in the list and change its information. |
| 6. | To delete an appointment reason, click its Internal ID in the list and from the File menu, click Delete. |
| 7. | Click Save |
© 2018 ![]()