Managing your clinic social history lists
When you record a patient’s social history (see Social history), if the option that users want is not available in a list, users with administrator authority in Wolf EMR can customize the following lists:
Language
Marital Status
Income Type
Education
Steps
|
1.
|
From the Wolf EMR home page, click Configuration. |
|
2.
|
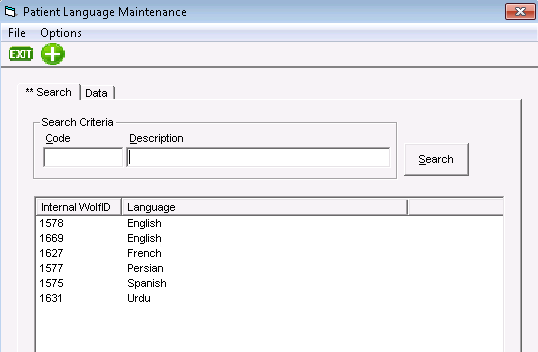
To manage the Language list, perform the following actions: |
|
a)
|
From the Configuration menu, choose View > Patient Data Codes > Languages. The Patient Language Maintenance window opens. |
|
b)
|
Perform one of the following actions: |
If you are modifying or deleting a language, click the InternalWolfID of the language.
If you are adding a language, at the top of the window, click .
The language opens in the Data tab.
|
c)
|
To modify the language name, in the Language field, modify the name. |
|
d)
|
To remove the language from the drop-down list, in the Patient Language Maintenance menu, click File > Delete (Ctrl + D). |
Tip: Can’t see your new or modified language in the list of languages? Try closing and then reopening the Patient Language Maintenance window.
|
3.
|
To manage the Marital Status list, perform the following actions: |
|
a)
|
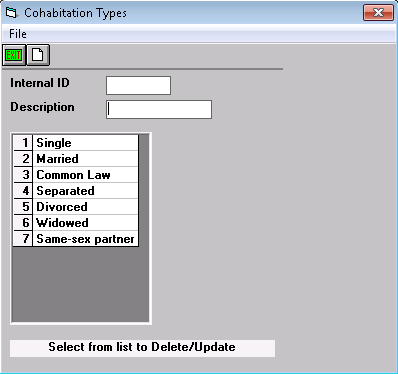
From the Configuration menu, choose View > Patient Data Codes > Cohabitation Types. The Cohabitation Types window opens. |
|
b)
|
Using the following table, modify the marital status list as needed. |
|
Modify a marital status name
|
|
4.
|
Click the marital status. In the Description field, modify the name. |
|
|
Remove a marital status
|
|
5.
|
Click the marital status. From the Cohabitation Types menu, choose File > Delete. |
|
|
Add a marital status
|
|
6.
|
At the top of the window, click (Ctrl+N). In the Description field, type the marital status name and click . |
|
|
7.
|
To manage the Income Type list, perform these following actions: |
|
a)
|
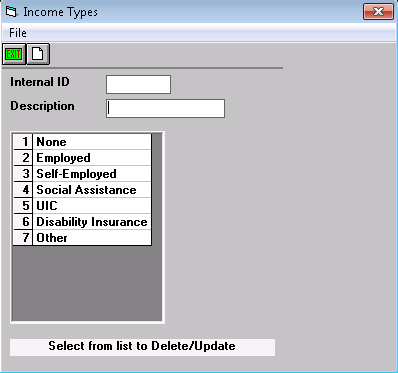
From the Configuration menu, choose View > Patient Data Codes > Income Types. The Income Types window opens. |
|
b)
|
Using the following table, modify the items as needed. |
|
Modify an income type name
|
|
8.
|
Click the income type. In the Description field, modify the name. |
|
|
Remove an income type
|
|
9.
|
Click the income type. From the Income Types menu, choose File > Delete. |
|
|
Add an income type
|
|
10.
|
At the top of the window, click (Ctrl+N). In the Description field, enter the income type name and click . |
|
|
11.
|
To manage the Education list, perform the following actions: |
|
a)
|
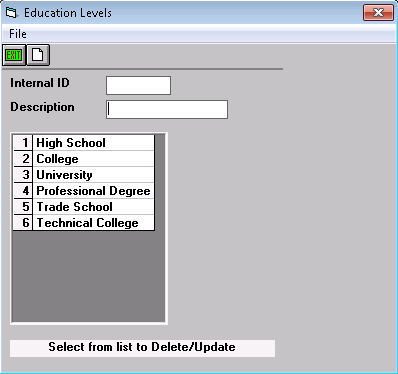
From the Configuration menu, choose View > Patient Data Codes > Education Levels. The Education Levels window opens. |
|
b)
|
Using the following table, modify the items as needed. |
|
Modify an education level name
|
|
12.
|
Click the education level. In the Description field, modify the name. |
|
|
Remove an education level
|
|
13.
|
Click the education level. From the Education Levels menu, choose File > Delete. |
|
|
Add an education level
|
|
14.
|
At the top of the window, click (Ctrl+N). In the Description field, type the education level name and click . |
|
|
15.
|
When you are done, click Save . The list is updated with the new or modified option. |