Configuring exam rooms
Add, modify, or remove exam rooms so that you can easily monitor patient traffic and track which rooms they are in.
Steps
| 1. | From the Wolf EMR home page, click Configuration |
| 2. | From the View menu, choose Other > Clinic Exam Rooms. The Exam Room Maintenance window opens. |
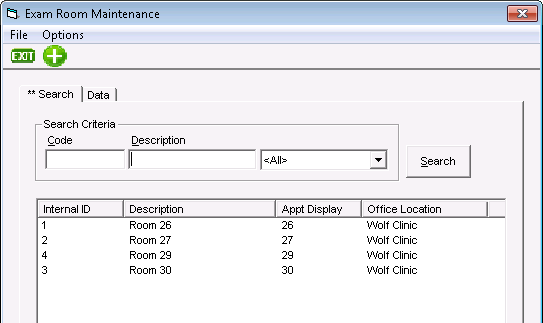
| 3. | To add an exam room, click the new button |
| Field | Description |
|---|---|
|
Internal ID |
Leave blank; automatically-generated number. |
|
Office Location |
If your clinic has more than one clinic location, choose the location you want to add or modify the exam room for. |
|
Description |
Type a name for the room. This appears in the room list when you assign a patient to a room. |
|
Appt Display |
Type a two character short name for the room, such as R3 (for Room #3). This short name appears in front of the patient name in the schedule when a patient is assigned to that room. |
| 4. | To edit an exam room, click it in the list and change its information. |
| 5. | To delete an exam room a field, click its Internal ID in the list and from the File menu, click Delete. |
| 6. | Click Save |
© 2018 ![]()